Photo Mode Guide
Hi all,
Many of you will have experienced this kind of feature in other games but we hope this guide will still provide some handy tips and tricks to help you get the most out of Star Trucker’s Photo Mode.
Finding Photo Mode
If you haven’t spotted it yet, you can access the Photo Mode from the pause screen.

Locating Your Photos
On consoles, taking a photo will automatically save the image to your device.
On PC your screenshots will be saved to an appropriate location. Unless you have a unique setup, this will be your documents folder…
C:\Users\DaveMonster\Documents\StarTrucker\Screenshots\

To help keep track of your photos we automatically generate a filename based on the date and time they were taken. This approach allows files to be easily sorted from new to old while still grouping them by date…
StarTrucker_Screenshot_20250410_1241_33.png
Prefix / Year / Month / Day / Time (24hrs) / Seconds
Camera Controls
Photo Mode uses slightly different controls to the main game so that you can move the camera AND adjust the settings freely.
On PC, click and hold the right mouse button to look around and WASD to move the camera.

On a controller, use the analogue sticks to move / look and the d-pad to adjust the camera settings.

We’ve also included a speed toggle for free cam that should allow you to traverse large areas quickly or precisely refine a composition.
x1 - Default speed for general movement
x5 - Fast Speed that’s great for quickly moving across large areas
x0.25 - Slow speed that’s ideal for small tweaks and close-ups
Camera Modes
We have multiple camera modes available in Photo Mode. Read on for an explanation of each…
Free Cam
Use this camera to move freely around the environment and compose unique shots.
This camera allows you to clip through your truck giving you the ability to take both interior and exterior photos. However it will not let you clip through sector props and NPC vehicles.
Please note the free cam will stay in place until you jump to a new sector or reset the camera. This allows you to fine tune your truck position by switching in / out of Photo Mode.
If you find yourself a little lost, use the reset function to put the camera back inside your truck.
Please keep in mind that you’ll likely encounter some small issues and visual oddities while using free cam. However, we believe giving players as much control as possible is the best way to promote creativity even if it reveals some of the corners we had to cut as a small indie team.

Preset Cam
If you don’t want to spend time positioning a camera you can use one of the many presets to get an instant shot of your cab.
Remember, most of these cameras have a mirrored equivalent, so be sure to look through all presets when looking for the perfect shot.

Orbital Cam
We also provide access to the orbital camera while in Photo Mode. This essentially works the same as the exterior camera during gameplay and is handy for photos of gameplay and your connected trailers.

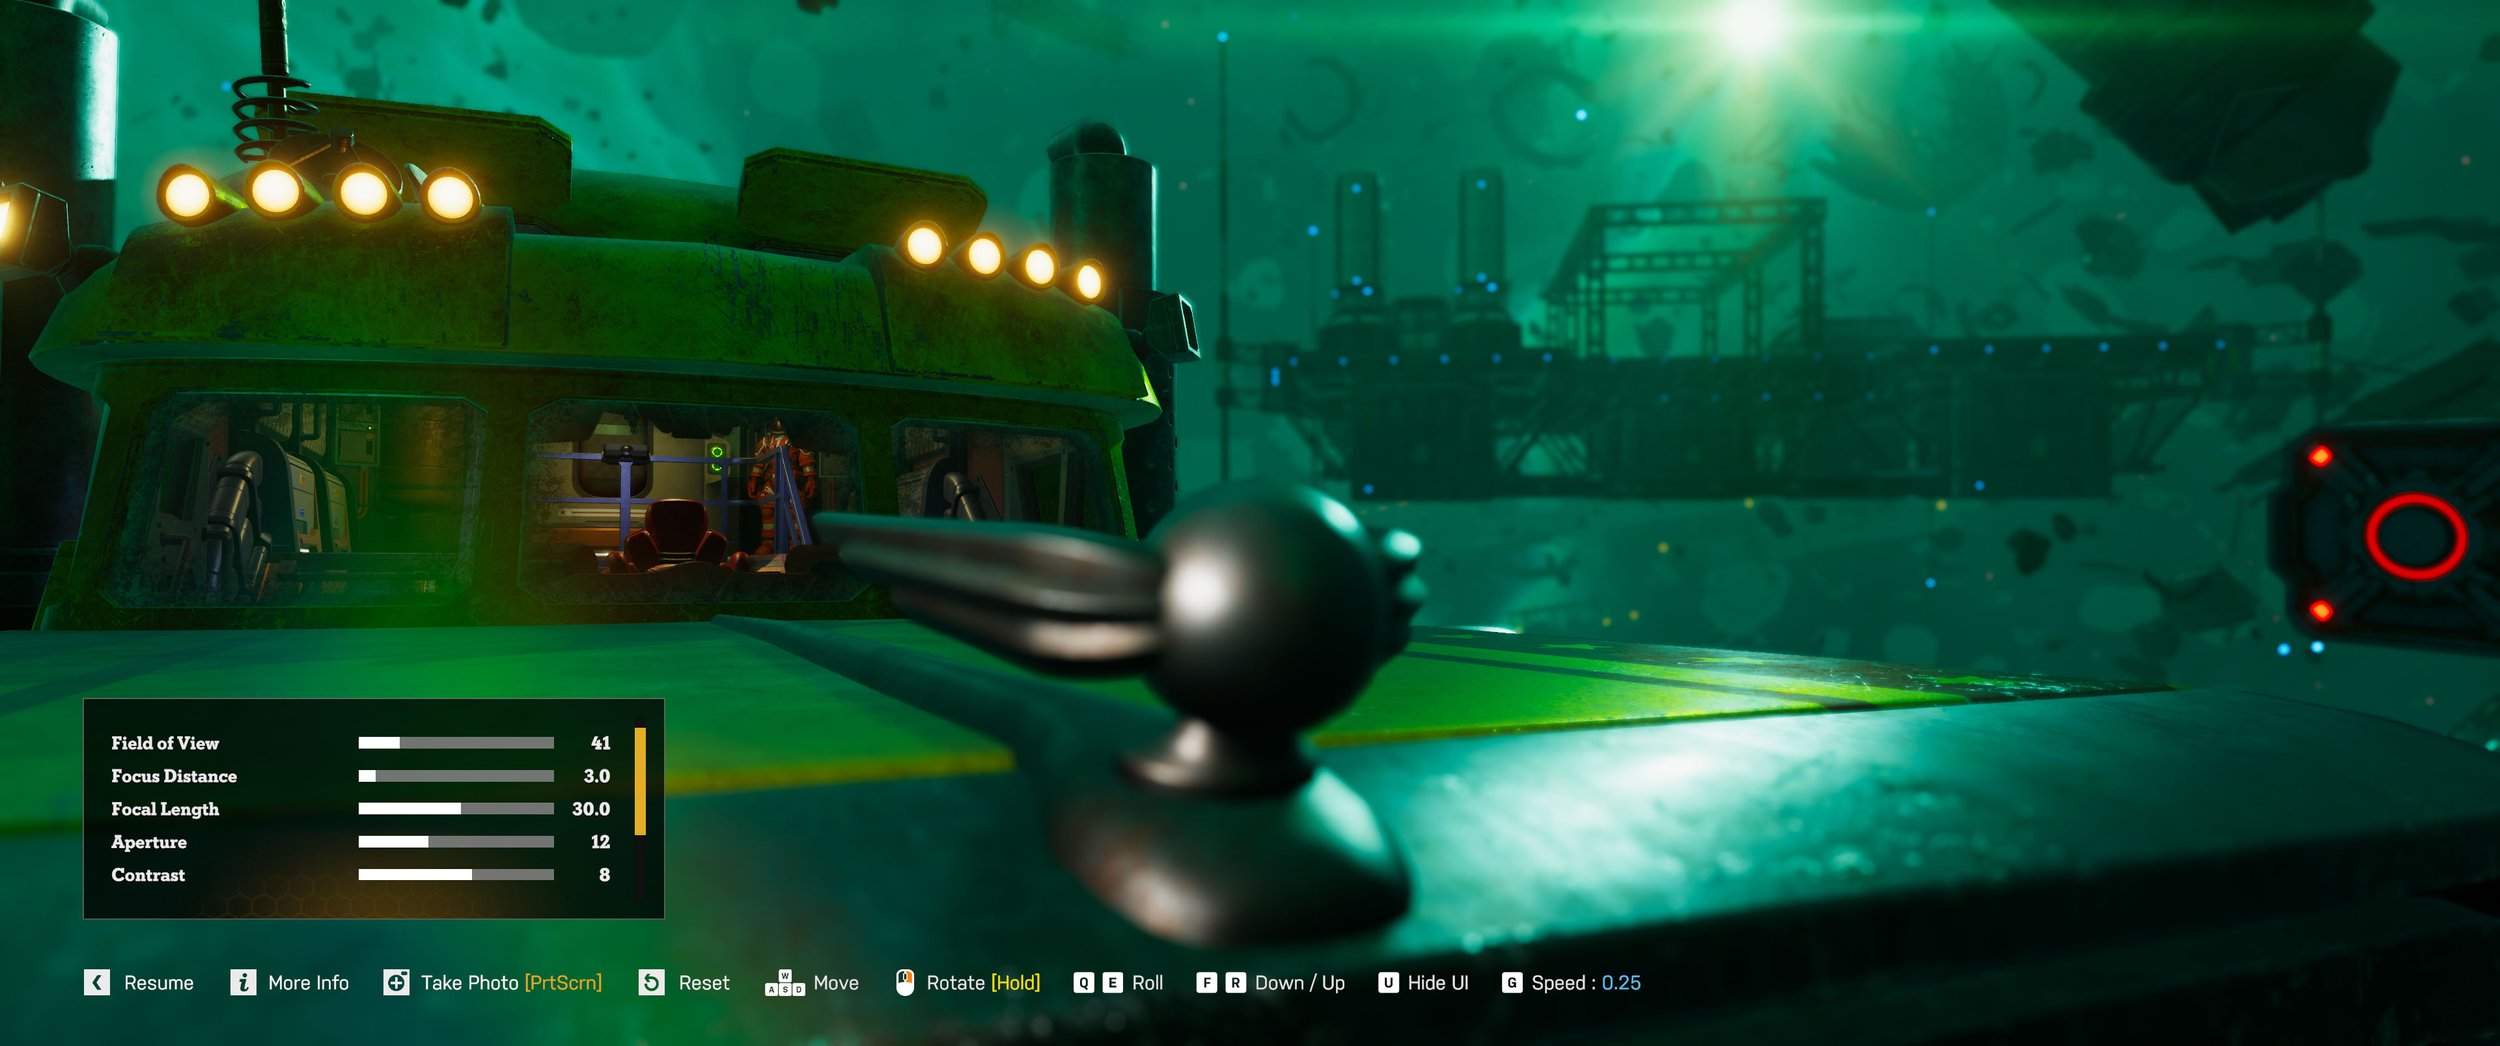
Camera Settings
Below are some quick explanations of the different camera settings. Keep in mind some settings will not be available in certain camera modes.

Perspective
Field of View - Adjusts the camera’s perspective, affecting how wide or narrow the view appears.
Depth of Field
Focus Distance - Controls the focus point for depth of field, making objects appear sharp or blurred depending on their distance from the camera.
Focal Length - Determines the simulated distance between camera lens and sensor, allowing you to adjust how shallow or deep the depth of field effect is presented.
Aperture - Simulates the effect of a camera lens opening size, influencing depth of field and how much of the scene appears in focus.
Color Balance
Contrast - Adjusts the difference between light and dark areas to enhance visual clarity or create a specific look.
Saturation - Controls the intensity of colors, making them appear more vivid or muted depending on the desired visual style.
Exposure - Adjusts the overall brightness of the scene to simulate how a camera or human eye adapts to different lighting conditions.
Special Effects
Vignette - Darkens the corners of the screen to draw focus toward the center and enhance the mood or atmosphere.
Chromatic Aberration - Simulates lens distortion by misaligning colors at the edges of the screen to create a more cinematic or surreal visual effect.
Tips and Tricks
Focus and Blur
Setting up a shot to use a depth of field blur (In this case “bokeh”) can be a little tricky at first. Use the following settings as a starting point but be prepared to try different values to suit your exact setup…
Near Focus
When dealing with short distances you’ll need to lower the focus distance and increase focal length.

Mid Focus
These types of shots are tricky and will require some trial and error. Keep in mind the distance of the object you want to focus on and adjust focal length and aperture accordingly.
Distant Focus
Set the focus distance and focal length high to keep the skybox and distant objects nice and crisp. Setting the aperture low will blur foreground objects.

Truck Focused Exterior Shots
Customized your big rig? Need a shot that shows it in the best light? Take the free cam outside (or use one of the other camera modes) and make sure your truck is the key element of the composition. Keep in mind the direction of any light sources and angle your truck accordingly.
Remember you can pause while accelerating or making a manoeuvre to capture your truck thrusters in action!

Cab Interior Shots
To get a great interior shot you should avoid having the camera clipping into the truck or any items. By adjusting settings related to depth of field you can get some great results and really show off your cab.

Distant Vistas
If you’re looking to compose captures from around the galaxy use the free cam to find the perfect spot. Try to position your camera near sector dressing to reinforce a sense of depth and turn it towards the source of light to capture lens-flares and beams of light.

Moody Monochrome
To take a more moody or artistic shot, why not consider a black and white photo? Reducing the saturation to 0 and adjusting the contrast, exposure and vignette settings can really make these type of photos pop.

Vibrant Boundaries
For more vibrant photos try boosting the saturation alongside some subtle tweaks to exposure and contrast. Add a little chromatic aberration to give the photo some extra energy.

Other Things to Note
Free cam is disabled during warp but you can still use preset and orbit cams to capture lightspeed
A lower FOV will give the illusion that objects are closer than they really are
Toggle the UI off to check the composition free from obstructions
Speed streaks will fade away as you move the camera further from your truck
The free cam hitbox is quite large so you might not be able to get too close to some objects
We don’t show a player model driving the truck (indie budget short-cuts!) but are currently considering a space suit driver toggle as a potential option in the future
Final Words
We really hope you enjoy taking photos in Star Trucker and we can’t wait to see your images!
Our social scouts will be keeping an eye out for the best screenshots so be sure to tag or share your images with us Monsters / Raw Fury to be considered for community round-ups, special mentions and maybe a few prizes along the way…